Showing posts with label Production. Show all posts

Thursday, 9 February 2012

Music video Editing

Here is a screen shot of our music video in final cut, most of the clips are all on different timelines so you are unable to see all the clips in this screen shot. When editing this in the storyline we used chroma key, this was so she was the only person who had a bit of colour so that in the video she stands out but in the storyline she is ignored. I found out how to use chroma key by using youtube, so i was able to see how to use it and then apply it to my work. Then when it come to the performance parts we had to use colour correction so that the were similar colours because some of the clips were very yellow compared to others. We also used live type to create the title of the song and name of the artist onto the clip so that when it is played people are aware of who it is by and what the song is.

Here is the video that helped me to use chroma key, but they call it the sin city effect.


Her is a screen shot from live type, for when we created the titles.

Friday, 27 January 2012

Adding Production Company Logo to Website and Digipak

Here you can see that on my website i have added the production company logo at the bottom of the page above the copy right, so that people are aware who is the production company is.

This is my digipak which i have now also but the production company logo on. It is on the back of the digipak cover, like the website, about the copyright.

Production Company Logo

The name of the production company which i have decided on was S.A.D, which stands for Sean, Armani and David but it also stands for singing, acting and dancing. Which relates back to the band 'Pure Orbit' because the production company signed them because they are able to sing, act and dance, which makes them so perfect as a band.

Knowing that one of S.A.D's meanings are singing, acting and dancing i have decided to make sure pictures of theses things are incorporated into the production company logo. Therefore there would be a microphone, the happy and sad theatrical masks, and a pair of ballet shoes.

This is my end result, i decided to go for black white and grey because it looks more professional and sophisticated. On the lettering 'S' 'A' 'D' on each of them i done the same letter but made it a lighter colour and put it slightly off-set so it looks a bit like a shadow on the writing.  I also used an effect in gimp which is on filters then on artistic and it is called photocopy, this gave the images a more cartoony look which what i was trying to aim for.

Website update

When i got my teacher to look at my work to help me improve it, we both realised that on my website you was unable to see the writing on the sideshow underneath the banner. Then keeping with the theme of the website we then put a brown box behind the slide show so that the audience are able to see what is says on the slide show. Hopefully this will attract the audience because they can see that there are more pages therefore will be interested to see what more pictures are available to look at. 


Blog Update 27.01.2012

Today we had to change our whole storyline because we were unable to get the actor and actress's we needed, due to the fact that most of them were in exams or where unable to make it on the days that we had set to film. We where able to get all of our filming done today so now we are able to carry on with our editing.

Here are some pictures of us filming:

Wednesday, 25 January 2012

Finished Digipak

Here is my final design for my digipak and i created it using gimp. This is my first design idea that i had and overall i think it works quite well because i have made sure i have used the same colours scheme as my website and banner so people are aware that it is all from the same band. I also i did only have 4 track in the beginning but then realised it had to be an album so i added a few more track names and gave it and album name, which is 'Save The World'.

Wednesday, 18 January 2012

Website

Here is my website, the only things that i need to add on to make it finished it my digi pack image and also the final music video.
As you can see there is a space for the music video to be inserted and the digi pack image. The video will be placed in the brown box underneath the music video title, and the digi pack image will go in the brown box underneath the new release title.

This is the rest of my website and at the bottom it has some writing about the copy right and terms and conditions, and i have working link to go to each of the pages. Also the 'ticketmaster' and 'twitter' image are also links to them pages, and there are real website.

Also my links work but they lead to a 'site under construction' page, showing they i have made working links but there is no content on any of the pages.

Friday, 9 December 2011

Producing My Website

This lesson i have just been finishing off my website and making a few changes so that it looks a bit more professional. Now i have the layout of the website done all i need to do now is add the information needed, i have also made the links to each page work but i am going to make the pages under construction so people no the links work i also the picture of the twitter sign is a link to twitter.

Wednesday, 7 December 2011

Blog Up Date - 07.12.11

We have now uploaded the clips that we filmed on the 30th of November, and once we put the clips into final cut we realised that some of the clips are different colours therefore we need to do some colour correction to make sure the clips are the same colours. We have realised that this maybe quite tricky to do because we will have to try and make them all the same colour, a way in which we could get past using colour correction is to make all the studio clips black and white so that the change in lighting doesn't have a dramatic change.
This what what the original footage looks like and it shows the colour and lighting difference between both clips. As you can see one clip looks slightly yellow, where as the other clip has a hint of green.

In this screen shot we used colour balance to try and make the clips the same colour, but yet again they still look different. One of the clips still have a slight hint of green, therefore if we use colour balance on both of the clips we could make them more similar and also have an effect that looks good.

Also during this lesson we lip synced the clips with the audio in final cut so when it comes to editing with the storyline footage it will not take as long, this is will give us more time when editing. 
We also noticed that in some of the clips the mic's where in the way of the girls faces, and this doesn't really work well because in a girl band the girls need to be seen because its not really good to have a music video of a band but not being able to see any of them.

Thursday, 1 December 2011

New Final Banner

Here is my new final banner using the real image of the girls which will feature in our music video, i also made a slight few changes which are where the text is placed and also i added the 'Pure Orbit' logo. Overall i think this banner works really well because it has a neutral coloured background, this colour was also shown a lot in my digital mood board so it shows where i have got my colour scheme idea's from.

Filming on 30.11.11

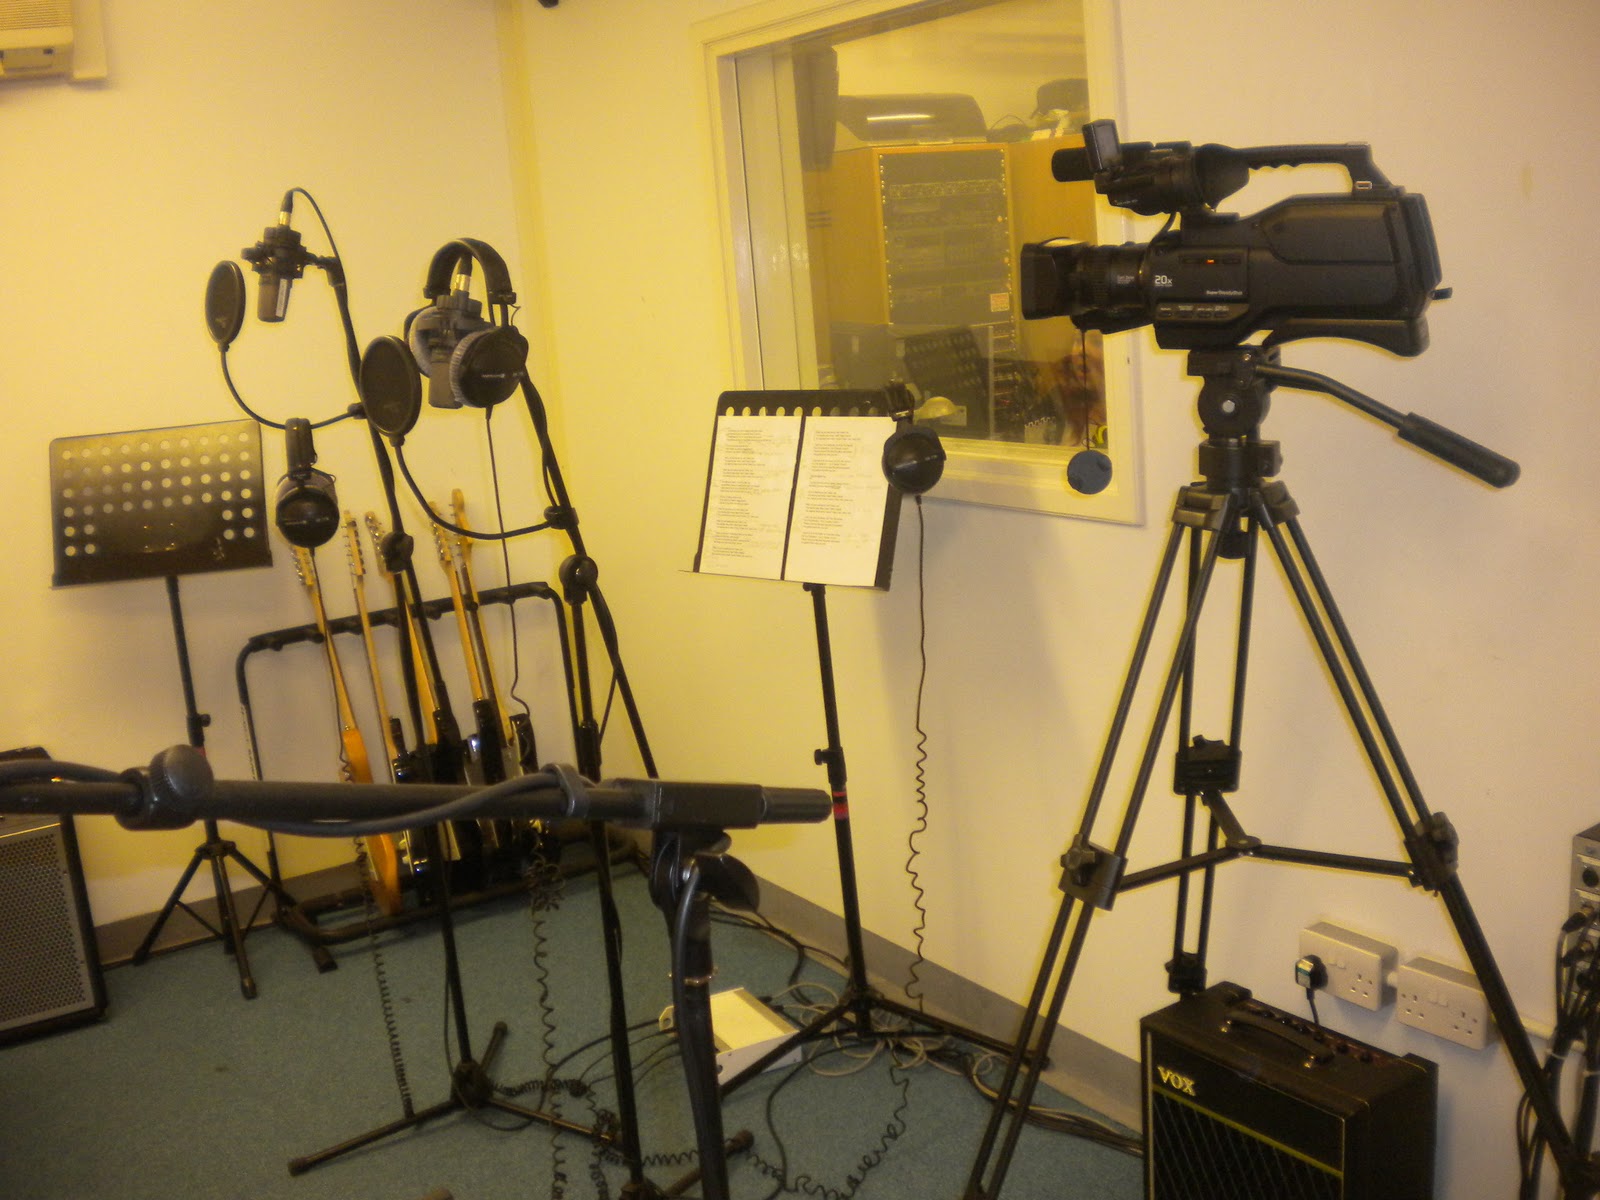
On the 30th of November me and my group orginised to come to the school and uses the school's recoding studio to film our performance part of our music video. Before we started filming we had to make sure we had a teacher with us so that we were able to be supervised whilst filming. We also had to wait for the actresses that we were using to be the band, and great-fully everyone turned up on time so we were able to start filming straight away. When it come to filming we filmed it in a similar way to which we did when filming the 'Let Me Entertain You' in the Jake Wynne workshop. This is when the performance is filmed from several points therefore when it is put together you have a few view points to cut to and from.


Here our some photo which i took whilst we were setting up and filming so that you can see where about we set up the camera and what the setting looked like. Some of these photo's are also going to be relevant when it comes to creating our banners and digi packs.